«No son salchichas» es una receta que se ha convertido en una de las favoritas de muchos niños, incluyendo mi hijo de 10 años. La razón por la que se llama así es porque, aunque tiene una apariencia similar a las salchichas, en realidad no lo son.
Esta receta es ideal para aquellos que buscan opciones sin gluten, ya que no utiliza ningún ingrediente que contenga esta proteína. Además, es sumamente sencilla de preparar y no requiere hervir, lo que ahorra tiempo y evita posibles pérdidas de sabor.
Los ingredientes principales de esta receta son pollo molido, queso crema, pan rallado sin gluten, condimentos como sal, pimienta y ajo en polvo, así como hierbas frescas como perejil y cebollino. También puedes agregar otros ingredientes como zanahoria rallada, cebolla picada o incluso espinacas para hacerlas más nutritivas.
Para empezar, se mezcla el pollo molido con el queso crema y los condimentos, hasta obtener una consistencia homogénea. Luego, se añade el pan rallado sin gluten y se mezcla nuevamente. Si la mezcla queda muy pegajosa, se puede agregar un poco más de pan rallado.
Después, se forman pequeñas salchichas con la mezcla, del tamaño que desees, y se colocan en una bandeja para horno previamente engrasada. Se hornean a una temperatura media-alta durante aproximadamente 20 minutos, o hasta que estén doradas y cocidas por dentro.
Estas «no son salchichas» son versátiles y pueden servirse de diferentes maneras. Se pueden disfrutar solas como aperitivo, acompañar con salsa de tomate o incluso hacer un delicioso sándwich con pan sin gluten.
La clave de esta receta es asegurarse de que las salchichas de pollo estén bien cocidas, para evitar cualquier riesgo de contaminación bacteriana. Para ello, siempre debes verificar que su interior esté completamente cocido antes de servir.
En resumen, «no son salchichas» es una receta sin gluten que encanta a los más pequeños. Es fácil de hacer, deliciosa y nutritiva, perfecta para aquellos que buscan opciones alternativas a las salchichas tradicionales. ¡Anímate a probarla y sorprenderás a tu familia con esta divertida receta!
#singluten #salchichasveganas #salchichasvegetales #recetasdegri
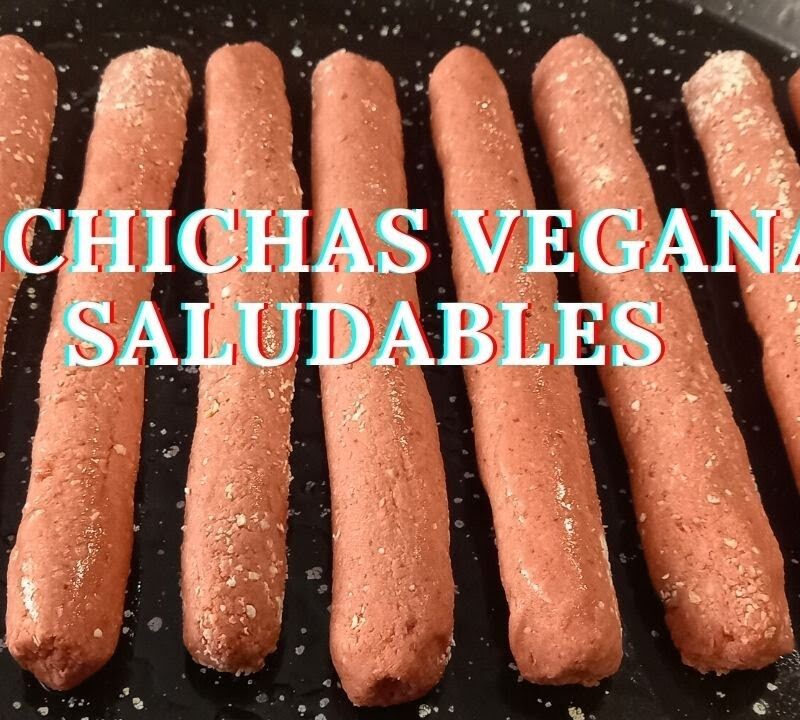
Hoy te comparto una de las recetas favoritas de mi hijo de 10 años, que no come carne y desde que comencé a hacer estas salchichas veganas saludables, ya no compro más las salchichas de soya del supermercado.
En este vídeo te enseñaré como hacer Salchichas Veganas saludables a base de garbanzos y arroz integral. Es una receta saludable, fácil y rápida. También te enseño como hacer las salchichas veganas gluten free. Estas salchichas veganas se pueden cocinar al horno o a la sartén.
Todas mis recetas
INGREDIENTES
Mi taza medidora es de 250ml
1 Taza de Garbanzos
1/2 Taza de Arroz Integral
1/4 de Cebolla Morada
1 Cucharada de Remolacha
1 Diente de ajo
1/2 Cucharadita de comino
1 Cucharadita de Pimentón ahumado
1 Cucharadita de Sal
2 Cucharadas de Fécula de Mandioca
2 Cucharadas de Harina de Avena o harina de arroz
Cualquier consulta me la puedes dejar en los comentarios
GRACIAS POR COMPARTIR EL VÍDEO Y DARLE ME GUSTA!
Así me ayudarás a seguir creando contenido.
Te invito a acompañarme en mis redes sociales
Instagram
Suscribete a mi canal de Youtube RECETAS DE GRI es GRATIS!
Ingredientes:
– 4 salchichas sin gluten
– 1 cebolla cortada en rodajas
– 1 pimiento rojo cortado en tiras
– 1 zanahoria cortada en rodajas
– 2 dientes de ajo picados
– 1 lata pequeña de tomate triturado
– Sal y pimienta al gusto
– Aceite de oliva para cocinar
Instrucciones:
1. En una sartén grande, calienta un poco de aceite de oliva a fuego medio-alto.
2. Añade las rodajas de cebolla, el pimiento y la zanahoria a la sartén y cocina hasta que estén tiernos.
3. Agrega los dientes de ajo picados y cocinar durante unos minutos más.
4. Coloca las salchichas en la sartén y cocina hasta que estén doradas por todos lados.
5. Añade el tomate triturado a la sartén y sazona con sal y pimienta al gusto.
6. Reduce el fuego y deja cocinar a fuego lento durante 10-15 minutos, removiendo ocasionalmente.
7. Sirve las salchichas con la salsa de tomate y las verduras por encima.
¡Disfruta de esta receta sin gluten y sin hervir, que seguro será un éxito con tu hijo!
Hello, welcome, thanks for visiting the channel, today I am going to teach you how to prepare 100% vegetable sausages, made from chickpeas, and I am telling you that I have a 10-year-old son, his name is Benicio, he never eats meat He ate meat, and the only sausages he knew
Were the ones sold in the supermarket, vegan sausages, which are made from soy!, then one day it occurred to me to try sausage recipes, made from other ingredients, other than soybeans or wheat flour, and these, made from chickpeas, are very good, I’ve been trying several versions,
And this recipe that I’m going to show you today, I think It is one of the best, you can also make it gluten free, it really is easy, because you can cook it in the oven, or in the pan, and you can freeze and thaw it easily.
It is delicious , delicious and to start we are going to place 1 cup of cooked chickpeas, in a processor, 1/2 cup of brown rice, it can also be white rice, that is to your liking, 1 tablespoon of raw grated beets, for Give it color, it could also be a red pepper,
1/4 of a purple onion and 1 clove of garlic, the onion can also be white, and to give it flavor, I am going to use 1 teaspoon of smoked paprika, 1 teaspoon of salt and cumin , 1/2 teaspoon of cumin, and I’m going to process very well, until it’s a very creamy consistency,
And if you still haven’t subscribed to my channel, GRI’S RECIPES, I invite you to subscribe, and don’t miss any of my recipes, once the consistency is this creamy, we are going to place it in a container, From which city are you watching this video?
And we are going to add 2 tablespoons of cassava starch (YUCA), for me, it is one of the best starches, a very good consistency is achieved, I recommend that you use this cassava starch, THANK YOU for SHARING the video but if not They get cassava starch,
They can also make it with corn starch, and now I’m going to add 2 tablespoons of oat flour, and if they want to make it gluten free, I recommend that they use 2 tablespoons of rice flour, they are perfect too, with flour of rice, I made it several times,
We are going to integrate it very well, and we are going to place it, in the refrigerator, to rest, for approximately 1 hour….. I just took it out of the refrigerator, and it seemed to me that it needed a little more flour, so I added 1 tablespoon of oatmeal,
I’m going to integrate well, and I’m going to pass the preparation, to the work table, I’m going to place it on the counter, to the preparation, and this is as if it were a dough, I’m going to handle it that way, it doesn’t have to stick to my hands,
P But it doesn’t have to be too dry either, and this part is very easy, I’m going to make a cylinder, and I’m going to cut it into parts. When you make the recipe, tell me how it turned out!! I’m going to cut it into 8 parts,
And to put them together I won’t need plastic!! or boil them!! or anything, this is super easy !!! «boil plastic, releases harmful chemicals» just assemble, with each of the parts that I cut, a cylinder, the size we want,
It can be, the size, more or less , of the bread that we are going to use, if you feel that a little more oat flour or rice flour is missing, add it!!,.. but do not exceed it!!!… because if not, you are going to be very dry,
I cut them the size of the bread, more or less this is the size, I’m going to cut the excess part, because I’m going to make them all the same size, look here they are all ready, in total I got 9,
Because of the 8 parts, pieces were left over and I made 9, now I’m going to place them, in a roasting pan, to cook them, I tell you that you can also freeze them, it’s very easy, they cook them a little, and freeze them,
Well here I am going to place them in the roasting pan, because I am going to bake them, for me it is more practical, in the oven, because I cook them all together, between 5 and 10 minutes in a hot oven, 200 ºC, more or less,
But If you want, you can also cook them, in the pan, well, let’s go to the oven, look, between 5 and 10 minutes, in the oven, and they will be golden brown, don’t leave them for more than 10 minutes, because if not, they will be very dry,
Tell me in the comments, if you liked it, if you made it, who are you going to share it with, thanks for watching the video!!